

Utah Epoxy Coatings · Updated 2026-09-21
The kitchen is where the real stories happen. Morning coffee, late-night snacks, big Sunday dinners, and for businesses, the smooth rush of service. Floors carry all of it. That’s why more homeowners and chefs in Salt Lake City are turning to Epoxy Floor coating that doesn’t just look good,it works hard. If you’re planning a remodel or designing a new space, mastering how epoxy supports both design and daily use might be the smartest move you make.
So… why epoxy in the kitchen?
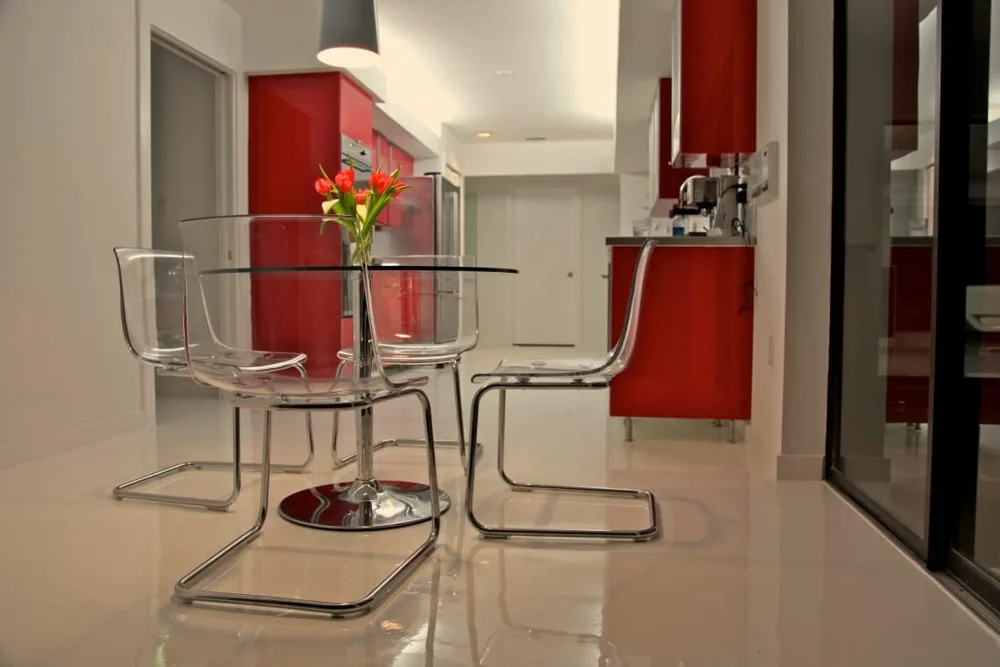
Short answer: because it solves several problems at once. It’s seamless. It’s easy to clean. It looks sharp. And it holds up when life gets messy. Kitchens see heat, splashes, dropped utensils, foot traffic, and the occasional “oops.” An epoxy kitchen floor gives you a smooth, non-porous surface that resists stains and seals out grime.
In Salt Lake City, we also battle snow, road salt, and dusty wind that tracks indoors. A high-quality kitchen epoxy flooring Salt Lake City system laughs at winter slush and wipes clean fast. You know what? That alone feels like a win when your mudroom and kitchen share space.
For businesses, especially restaurants and cafés, the performance part matters even more. A commercial kitchen epoxy system can support health standards, resist hot oil splashes, and keep staff on safe footing during rush hour. The right texture helps prevent slips while keeping mops and squeegees moving easily.
The science under your feet (without the jargon headache)
Epoxy is a two-part resin floor system. Resin meets hardener; a chemical reaction links the molecules; you get a dense, durable surface. That’s the simple version. The practical version: a contractor may build a “stack” that matches your kitchen’s needs.
Most kitchens do well with a proven system: a penetrating primer, a tinted epoxy body coat, optional color flakes or Quartz for texture, and a tough, UV-stable polyaspartic or urethane topcoat. Those layers bring durability, color control, scratch resistance, and easy cleaning. By the way, epoxy is hard, yes,but with the right additives and topcoats, it doesn’t have to feel harsh underfoot.
Important note: epoxy is not paint. Paint sits on the surface; epoxy bonds and becomes part of it. That’s why prep is such a big deal, which we’ll get to shortly.
Looks matter: turning function into design
Let’s talk style. Residential epoxy kitchen floors can look sleek and modern, warm and matte, or lively with stone-like texture. Commercial kitchens usually prioritize safety, but they don’t have to be dull,front-of-house prep zones, open kitchens, and cafés can carry a designer’s touch.
Here’s a quick look at popular Finishes and where they shine:
Swipe to compare →
| Finish Type | Design Vibe | Best For |
|---|---|---|
| Solid Color Epoxy | Crisp, clean, modern; high light bounce | Small kitchens, minimalism, easy visual resets |
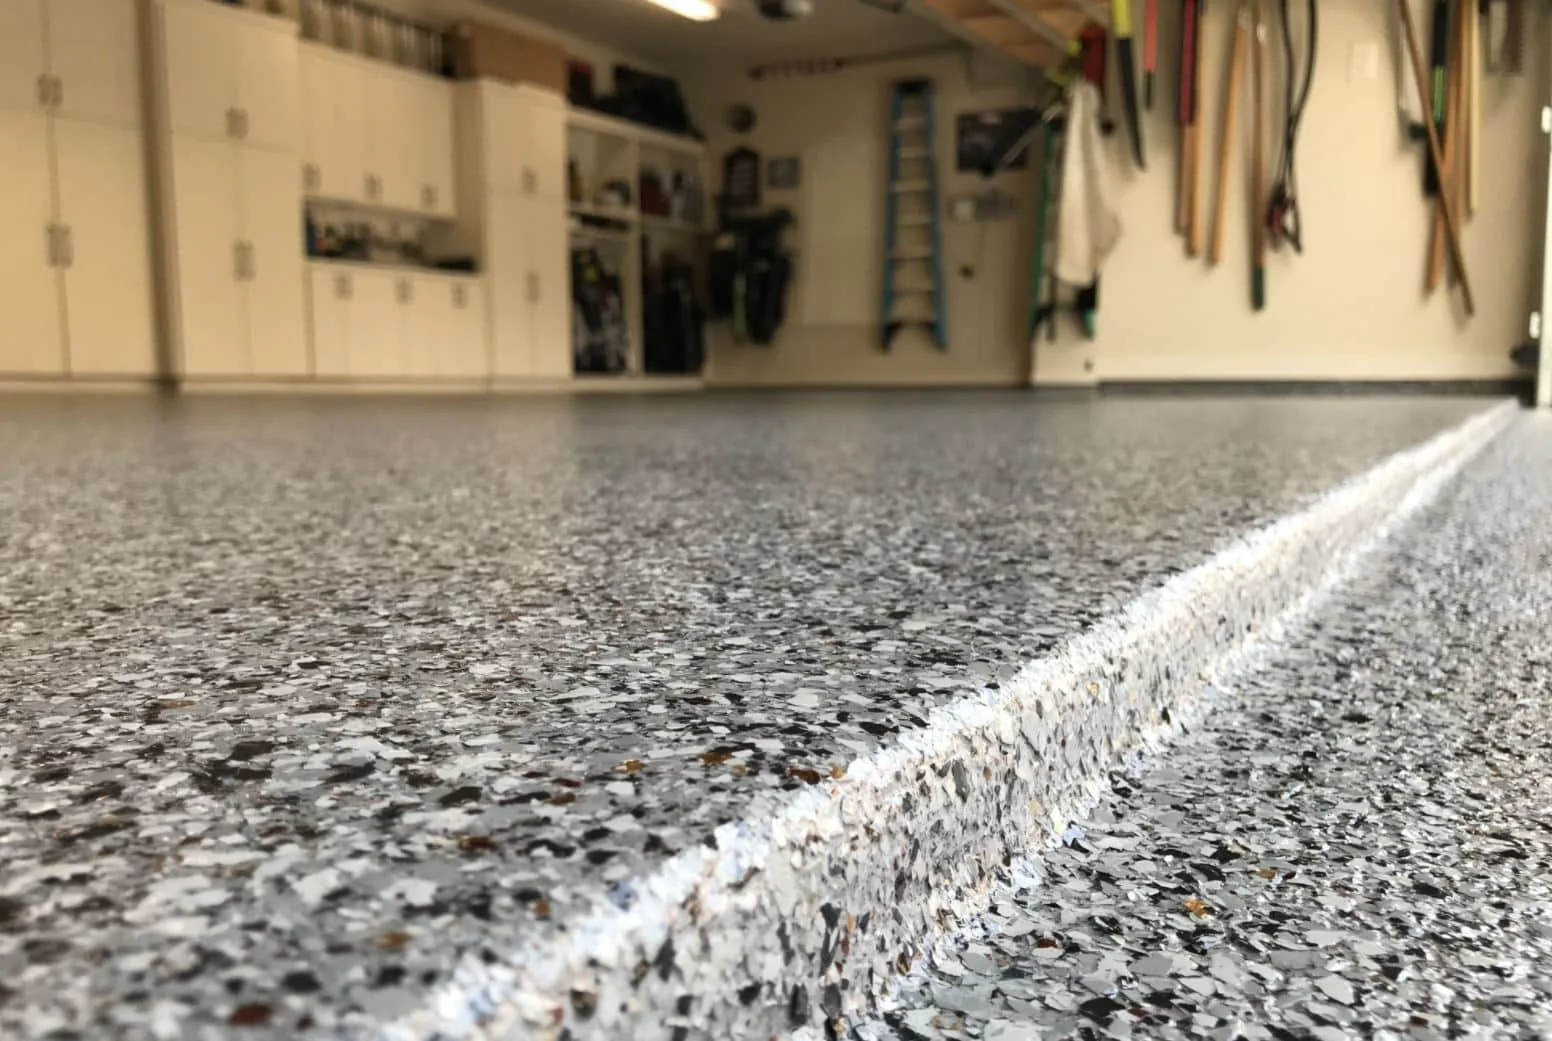
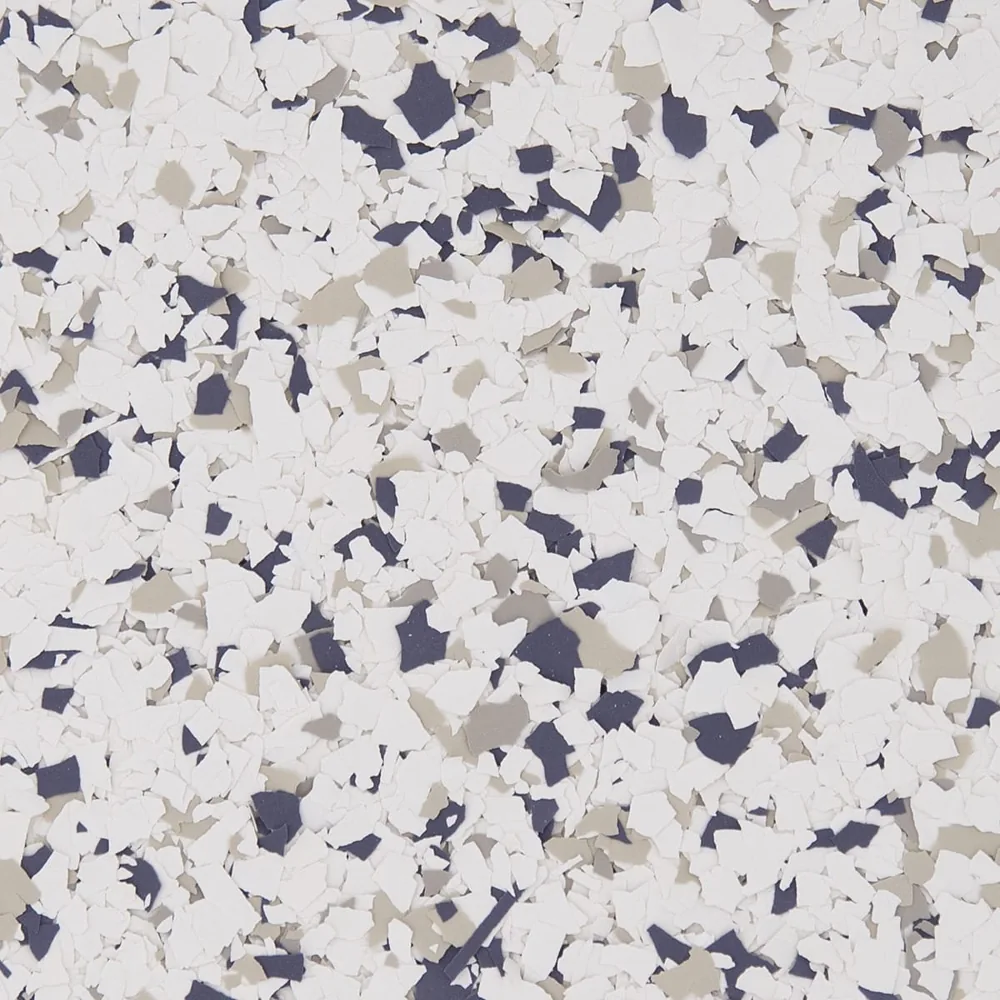
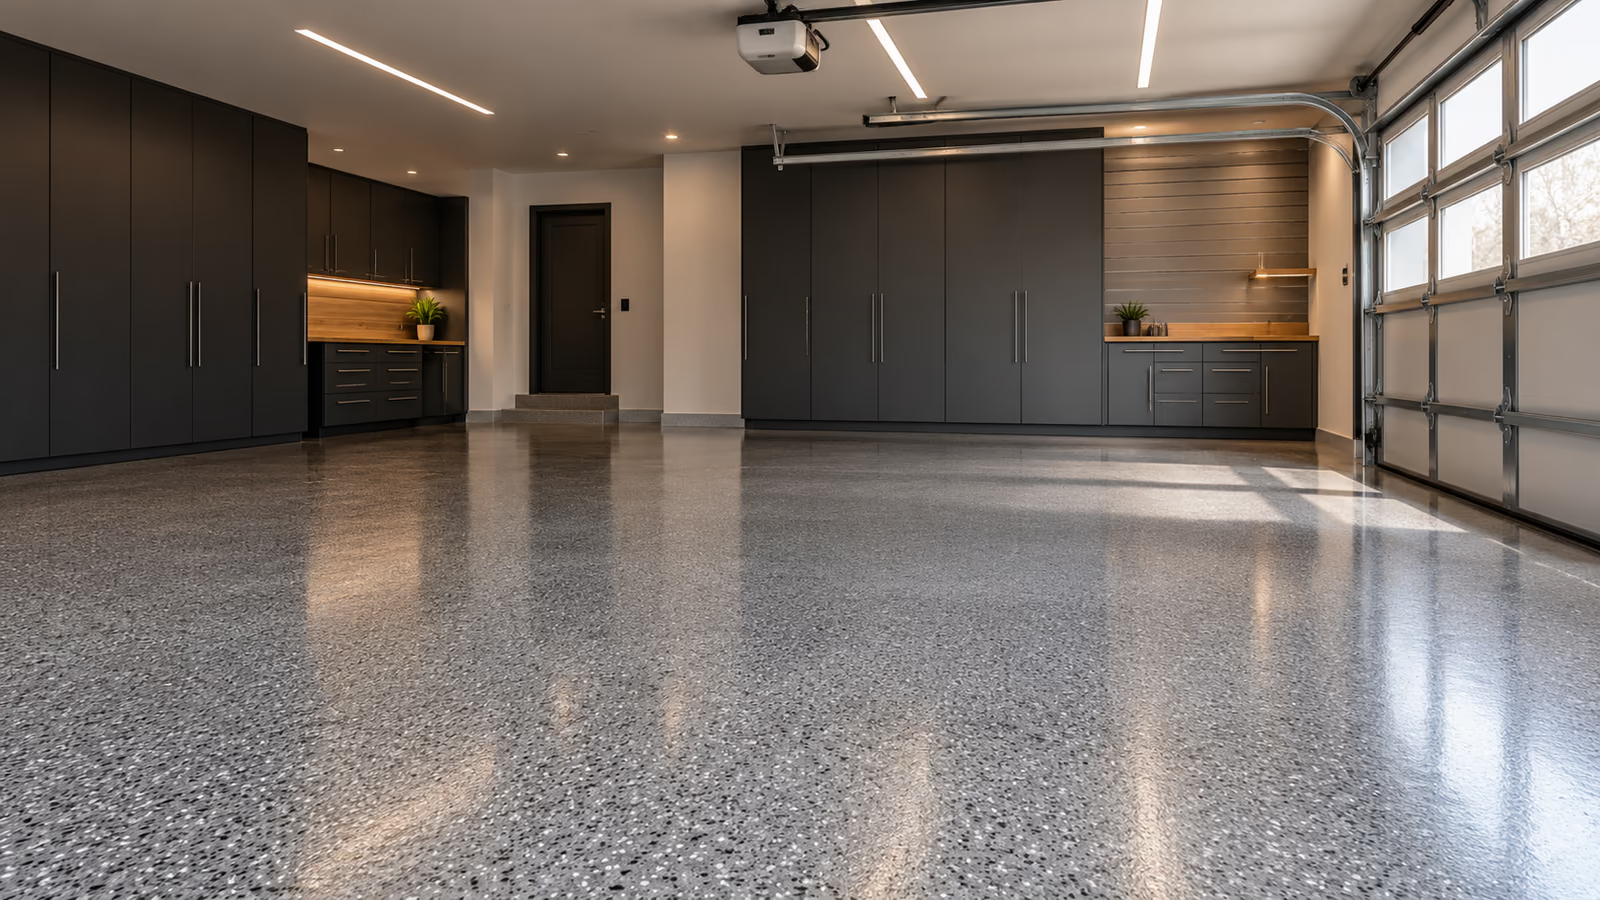
| Flake/Chip System | Stone-like, hides dust and crumbs | Busy homes, cafés, back-of-house traffic |
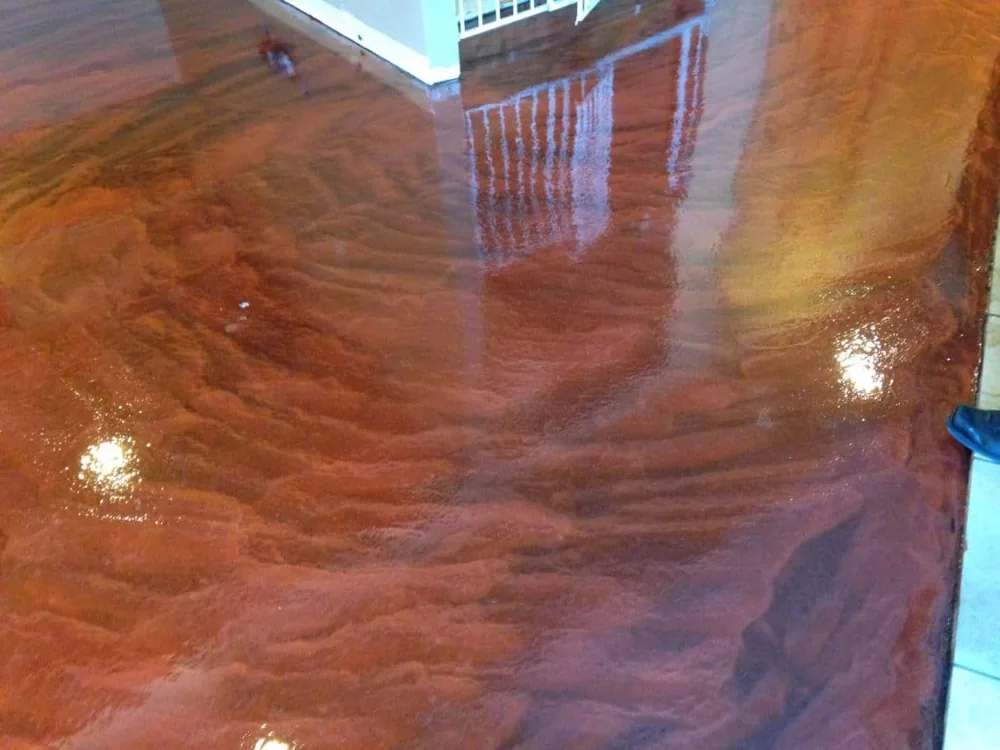
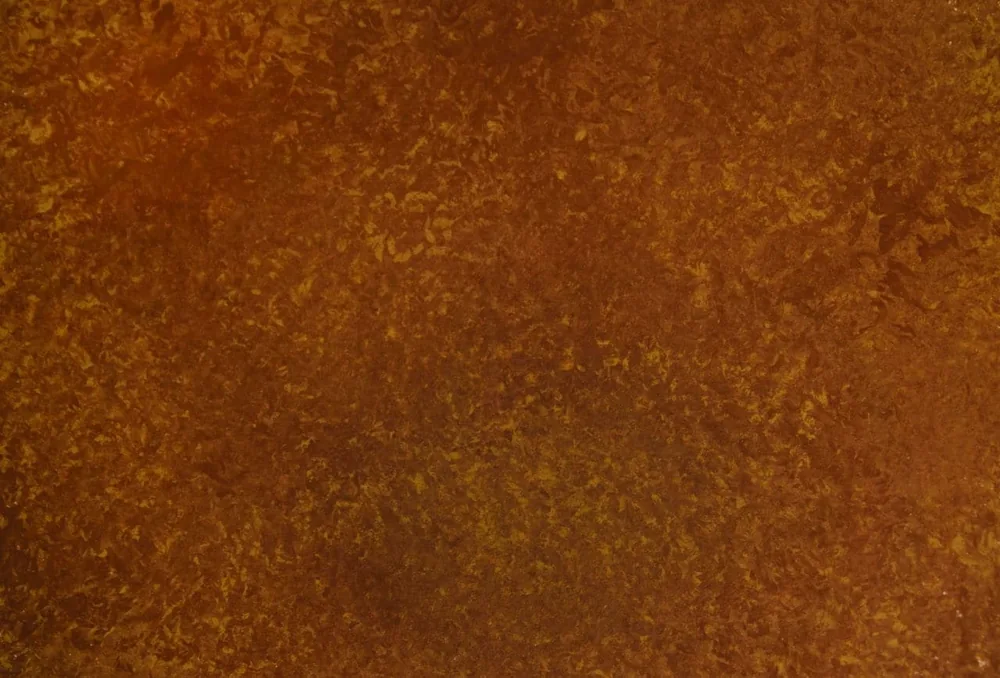
| Metallic Epoxy | Swirled depth, boutique feel | Open kitchens, showpiece islands, retail food spaces |
Local note: customers in the Wasatch Front love flake blends that echo our landscape,think “Quartz Canyon,” “Wasatch Granite,” or “Salt Flats Gray.” Light Colors bounce sunlight and make tight kitchens feel bigger. Dark tones look dramatic but show dust faster. If your kitchen gets strong afternoon sun, ask us about non-yellowing topcoats to keep whites and grays true.
One more designer trick: a resin cove base. We “turn” the floor up the wall a few inches for a built-in splash guard. It looks tidy and makes deep cleaning simple,especially behind ranges and prep tables.
Safe footing without the sandpaper feel
Slips happen around sinks, dish zones, and fryers. A contractor may build in traction where you need it, and keep it smooth where you want gliding movement. How?
- Quartz broadcast: silica grains embedded in the system for durable texture.
- Polymer beads: rounder profile; “grippy” but easier to mop.
- Aluminum oxide: extra-tough for heavy commercial areas.
We can tailor the finish so it’s not too rough for bare feet at home, yet still confident in wet spots. For restaurants, we aim for a wet coefficient that supports safety while keeping squeegees moving,no sticky, snaggy floors that slow you down.
Heat, spills, and stains: the real-life test
Kitchens throw curveballs. Hot pans, red wine, coffee, vinegar, olive oil, tomato sauce,you name it. A quality epoxy floor coating resists most food acids, fats, and dyes. Even so, quick wipe-ups help preserve the finish. Hot items? Don’t set a 400°F sheet pan directly on the floor; extreme and prolonged heat can scar any resin system. Normal kitchen heat and short contact are fine, but trivets and racks are your friend if you ever set down something blazing.
Cleaning stays simple. Use a soft dust mop daily and a pH-neutral cleaner for weekly or post-shift cleaning. Skip harsh citrus strippers and gritty powders,they’re not needed and can dull the gloss. For commercial sanitation, our systems pair well with standard industrial mop protocols, and a contractor may be able to specify chemical-resistant topcoats where strong cleaners are used.
Prep is 90% of the magic
Here’s the thing: the prettiest floor fails if the prep is rushed. We take that seriously.
- Moisture testing: We check concrete with RH probes and/or MVER tests. Basements in SLC can surprise you. If needed, a contractor may install a moisture vapor barrier epoxy as the base layer.
- Dust-free profiling: We diamond-grind with HEPA extraction. This opens the concrete and gives epoxy a true bite. No shortcuts.
- Crack and joint repair: We route and fill cracks with structural resin. Control joints can be honored or filled, depending on movement and design goals.
- Going over tile: Yes,if the tile is sound. We abrade, repair, skim-coat, and build a system that levels grout lines. Loose tile must go.
- Leveling: Need flatter floors for long islands? We can correct birdbaths and subtle waves before coating.
This is the part most DIY kits gloss over. Professional prep is the foundation for a floor that stays put and stays pretty.
Timelines and downtime: how long does it take?
Homes: many kitchens wrap in two to three days, depending on size, prep, and finish. Restaurants and high-wear commercial kitchens can run longer, especially with added texture, coves, and drains. Cure times also track with season and temperature, which matters along the Wasatch Front.
As a rule of thumb:
- Light foot traffic: often 12–24 hours after final coat, with fast-cure systems.
- Move heavy appliances: usually 48–72 hours. We’ll guide you.
- Full chemical resistance: builds over 5–7 days on many systems.
For restaurants, we often use a polyaspartic topcoat for faster return to service. Winter installs? No problem,portable heat helps cure, and we manage airflow so odors stay minimal and neighbors stay happy.
Maintenance made boring (the good kind)
Epoxy floors don’t need waxes or sealers. Keep grit off the surface and clean spills when they happen,that’s the big stuff.
- Daily: microfiber dust mop or soft broom.
- Weekly: pH-neutral cleaner with warm water; auto-scrubber for commercial spaces.
- Furniture: felt pads on stools and chair legs.
- Big moves: lift appliances or roll on plywood,don’t drag sharp edges.
Cost, value, and a few mistakes to dodge
Budgets matter. In the Salt Lake City area, residential kitchen projects often land between $6–$12 per square foot depending on prep, moisture mitigation, finish type, and cove base. Heavier-duty commercial kitchens, quartz broadcasts, cove work, and drain integration can run higher,roughly $8–$18 per square foot, sometimes more with urethane cement in high-heat or thermal-shock zones. We’ll price it cleanly and explain the why behind each line item.
A few pitfalls we help clients avoid:
- Skipping moisture testing: vapor pressure can push a coating loose over time.
- Choosing the wrong texture: too smooth is risky; too rough is hard to mop. We tune it.
- Going too dark: looks amazing but shows dust. Great if you love frequent cleaning.
- Underestimating prep: thin coatings over shiny tile without abrasion won’t last.
- Forgetting cove and drains: seamless transitions keep health inspectors and homeowners happy.
For Salt Lake City kitchens, local quirks matter
Our region brings a few fun twists. Winter means snow melt and road salt,flake systems and quartz textures hide the slush trail and clean fast. Summer sun? We match finishes to window exposure. Older basements along the Wasatch can carry hidden moisture; a contractor may test and, when needed, use a moisture vapor barrier primer so your floor stays bonded.
Radiant heat under the slab? Good news,epoxy works great over heated concrete. We manage cure schedules so the system sets evenly. For commercial kitchens facing thermal shock near kettles or steam-cleaned areas, we may recommend a urethane cement underlayer in those hot zones, topped with a chemical-resistant urethane. It’s one of those small adjustments that pays off for years.
How Utah Epoxy Coatings does it
We keep the Process simple and personal. You’ll get one point of contact, real samples you can stand on, and straight answers. During your free site visit, we measure, test, and talk through your layout,appliance moves, island size, wet zones, drains, and whether a cove base makes sense. We bring flake blends and metallic samples sized for real kitchens, not just tiny chips on a ring.
Install days run clean,HEPA filtration, taped thresholds, and careful staging so the rest of your home or business stays tidy. We send you a short care guide and stand behind our work with a solid warranty. Honestly, floors should be the least stressful part of your project.
Quick FAQ for epoxy kitchen floors
Can you coat over existing tile?
Yes, if the tile is sound. A contractor may grind, repair, and skim to level grout lines before building the new system. Loose or hollow tiles need replacement first.
Will it yellow in the sun?
We use UV-stable topcoats to protect lighter colors. Clear epoxies can amber with strong UV; that’s why the right finish coat matters.
Is it slippery?
We dial in traction with quartz or polymer beads, especially near sinks and ranges. You get grip without a sandpaper feel.
What about smell during install?
We use low-odor, 100 percent solids materials, plus ventilation. Most homes and restaurants find the scent mild and short-lived.
Pets and epoxy floors,okay?
Absolutely. No grout lines for fur and crumbs. Claws are fine; routine cleaning keeps micro-scratches in check.
Ready to design a kitchen floor that actually works?
If you want a beautiful floor that stands up to family life,or a commercial kitchen that can hustle,let’s talk. Utah Epoxy Coatings serves Salt Lake City and the Wasatch Front with systems built for our climate and your style. Call us at 801-515-0892 or Request a Free Quote, and we’ll help you plan the smartest part of your kitchen.